Tags
Tags are used to help filter within Offers, Campaigns and Images. By standardizing, we can predefine tags and avoid duplication. The tag library contains both tags predefined by the administrator (Default tags), as well as tags that are created by users when defining images, offers and campaigns (Non-default Tags).

|
THE FOLLOWING INFORMATION IS ONLY RELEVANT IF YOU POSSESS ADMINISTRATOR CREDENTIALS! |
To create and manage Tags, navigate to the Settings tab and select Tags from the submenu.
Tags Creation
Navigate to the settings tab and notice the submenus displayed. All marketers will see the Images submenu. (If you possess administrator credentials, you have access to an additional six submenus, please click here for more information on the additional submenus).
Let's begin with guiding you as a marketer with the "How To" of creating new tags (or click here to go directly to learn about Managing your Tags).
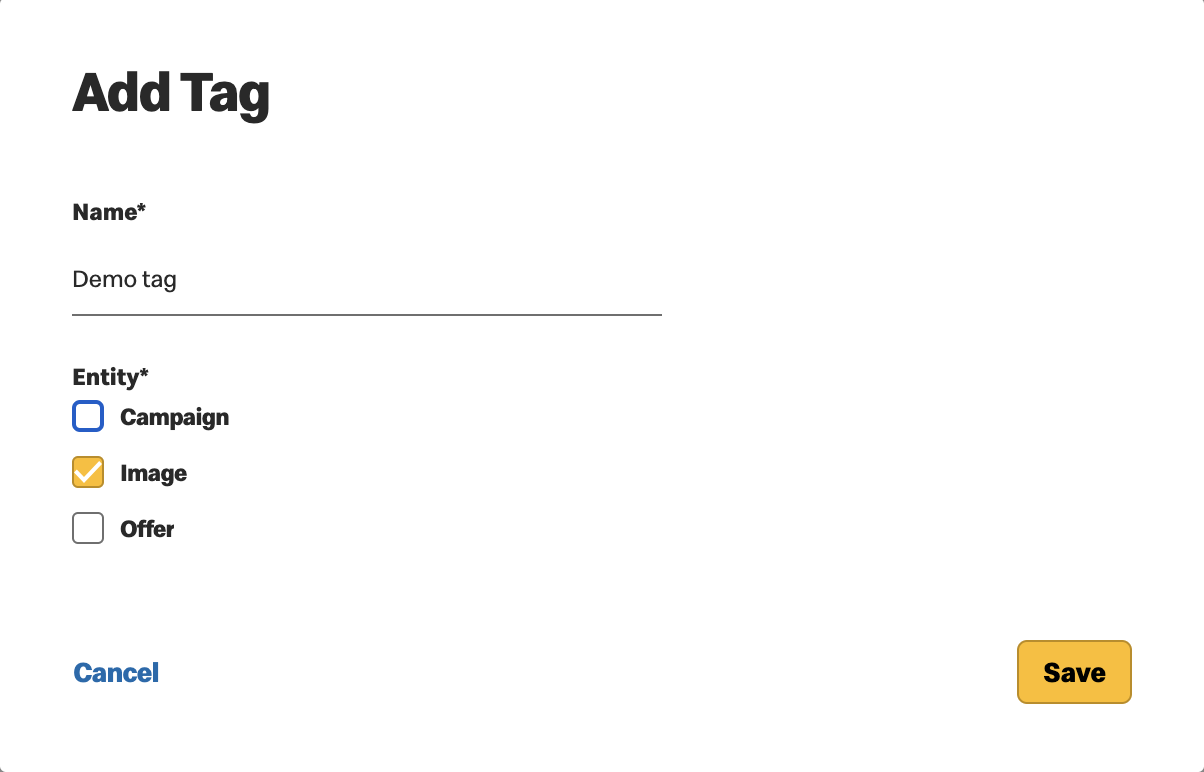
Follow the steps below to create a new tag:
- Select Tags from the Settings submenu.
-
Click
 to display the Add Tag window.
 - Define a name.
-
Select the entity or entities this tag is applied to:
-
Campaign
-
Image
-
Offer
-
-
Click Save or Cancel
-
Save - To enable the tags to be applied to Campaigns, Offers and Images
-
Cancel - To cancel record creation. If you select cancel, you will be asked to confirm.
Tag Management
The first part of Tags management is made easy with filtering options. Choose to view all, or filter to focus on the tags of interest.
You may filter by:
- Entity Type
- Default/Non-default Tags
- Search by name
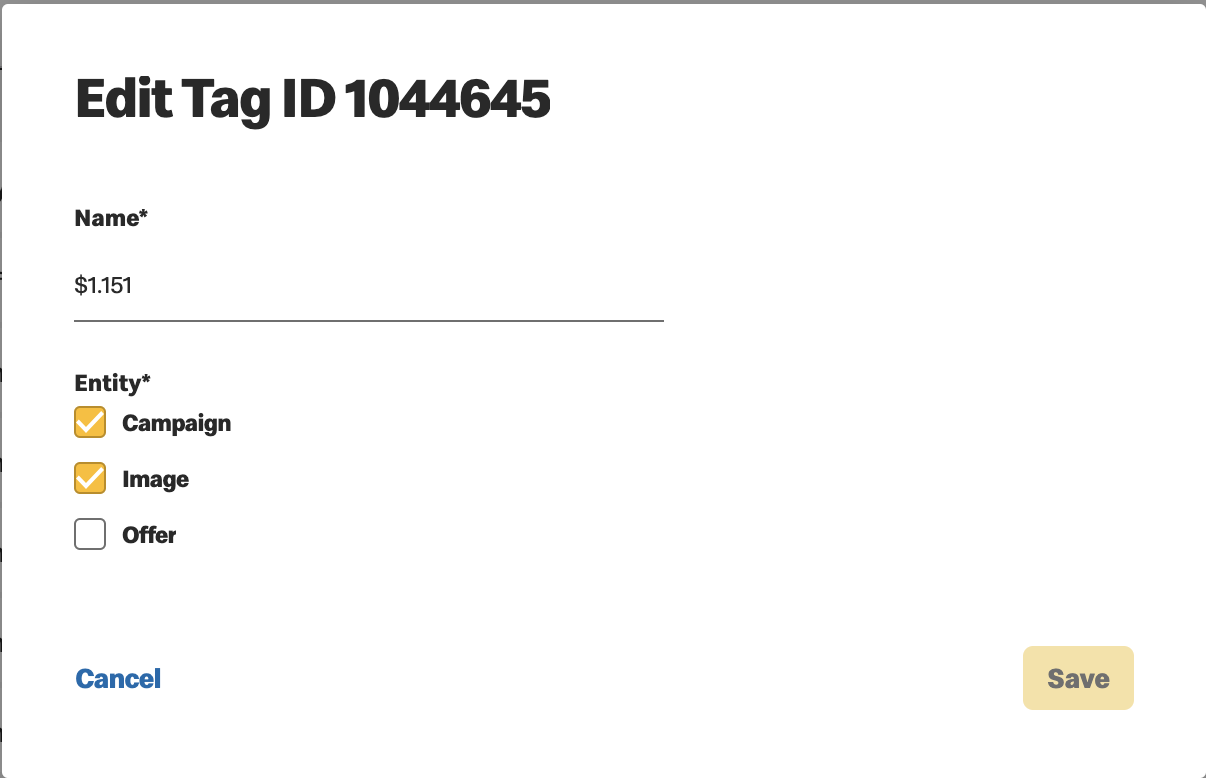
Once you are viewing the tags of interest, hover over any tag to display the two management icons.
- Rename the tag
- Edit the entity the tag is used in

If the Tag is in use, a usage pop up displays the affected entities and you are asked to confirm you wish to proceed with the changes. 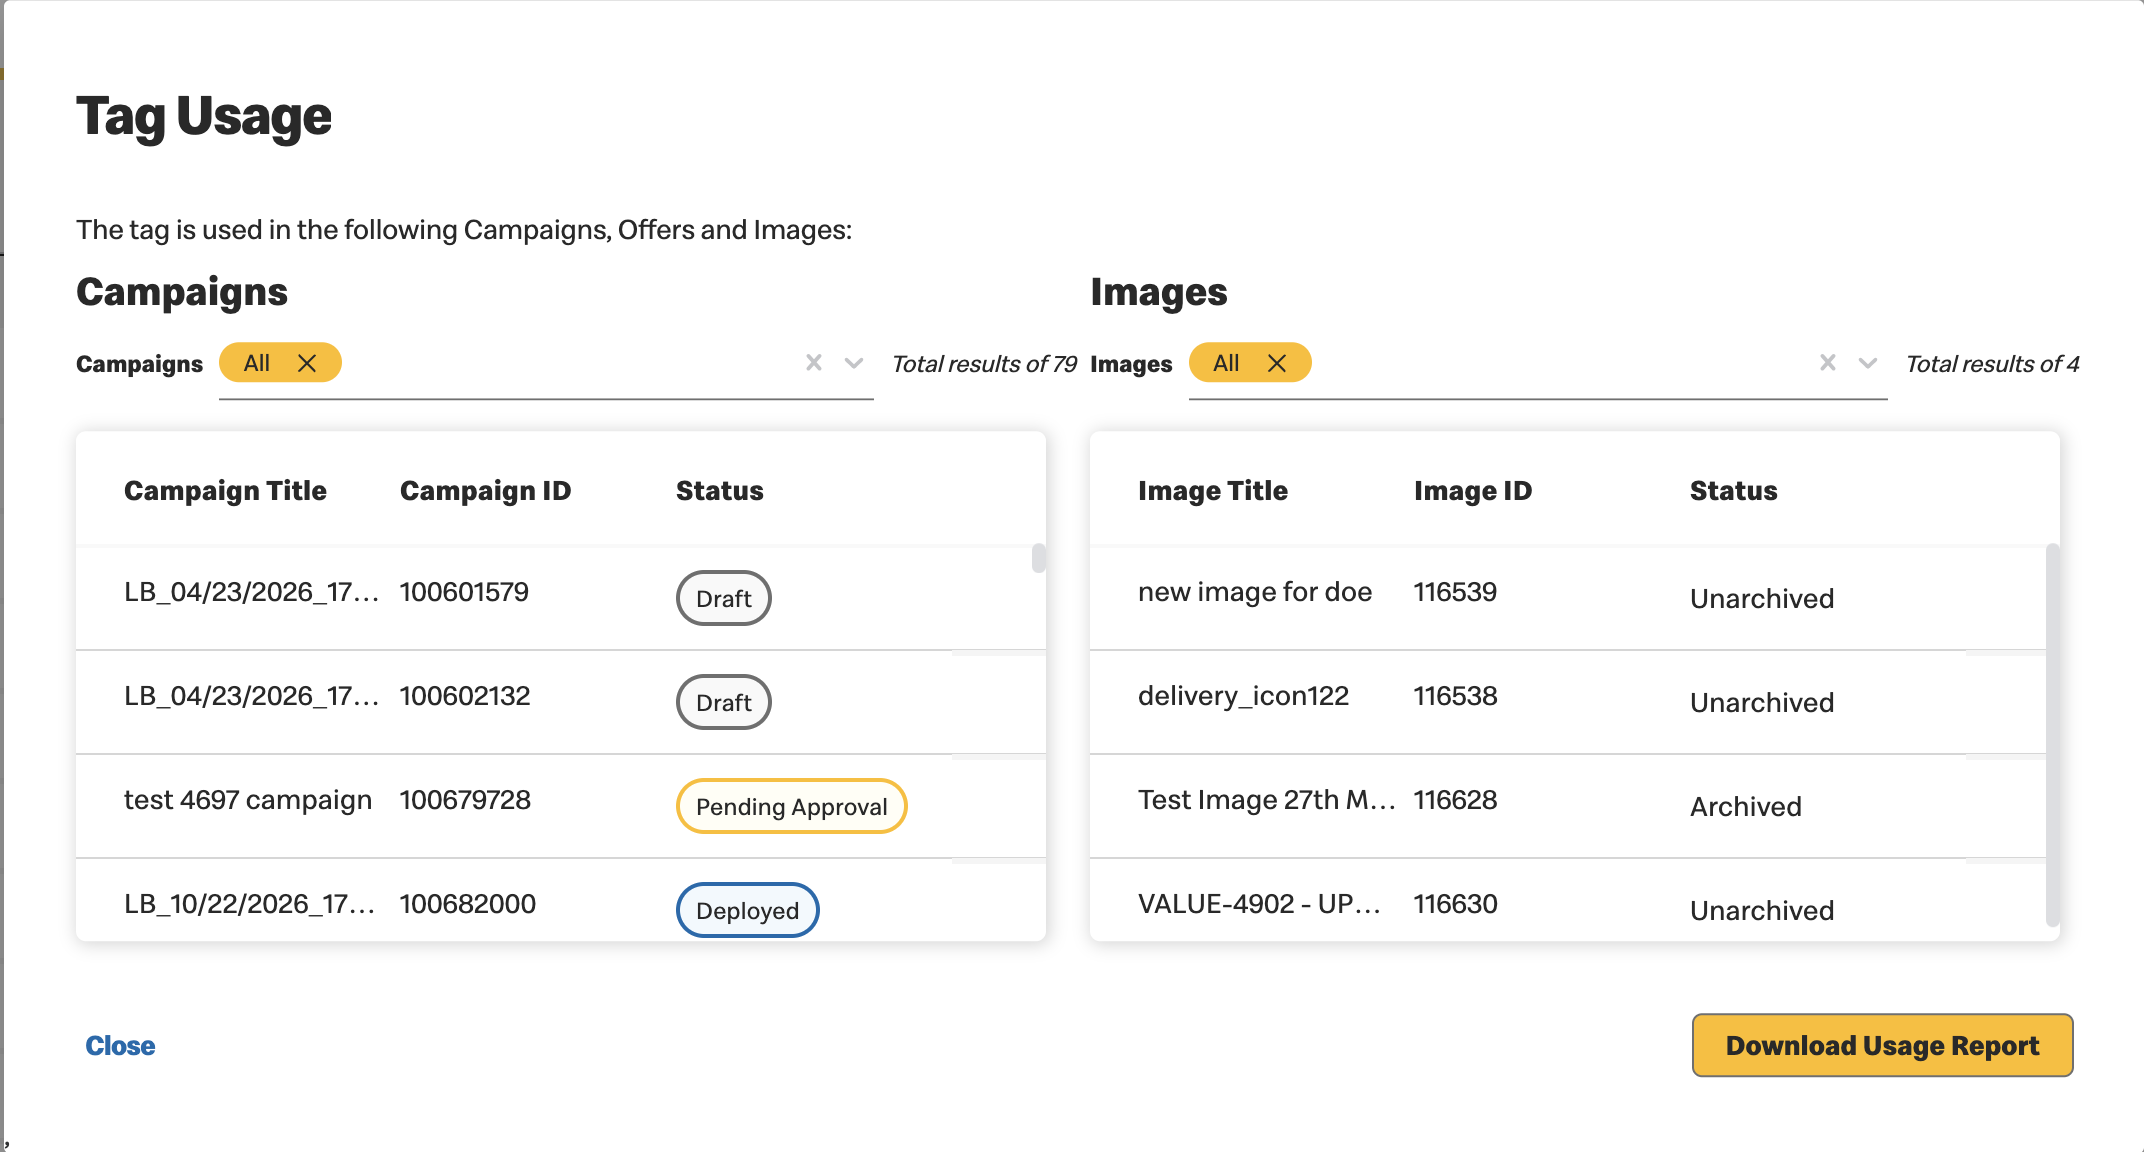
- Adding an entity - The tag is now available to be used with the new entity. It is not automatically added to all instances.
- Removing an entity - The tag is no longer available as a selection
for this entity. The tag is removed from all instances of the removed entity that used
it.
-
Once you complete editing, select Cancel or Yes, Edit.
DOE Campaigns Tags to prevent suppression
To avoid overlap between offers, some offers must be suppressed from the experimental group. For market-approved PE3 offers, BAU location-based and segmented offers will be automatically suppressed for customers receiving PE3 offers. However, if a BAU offer has already been associated with a customer, it will not be suppressed.
Marketers must manually add a campaign tag to prevent suppression for BAU location-based and segmented offers before PE3 offers are active in the customer’s wallet.
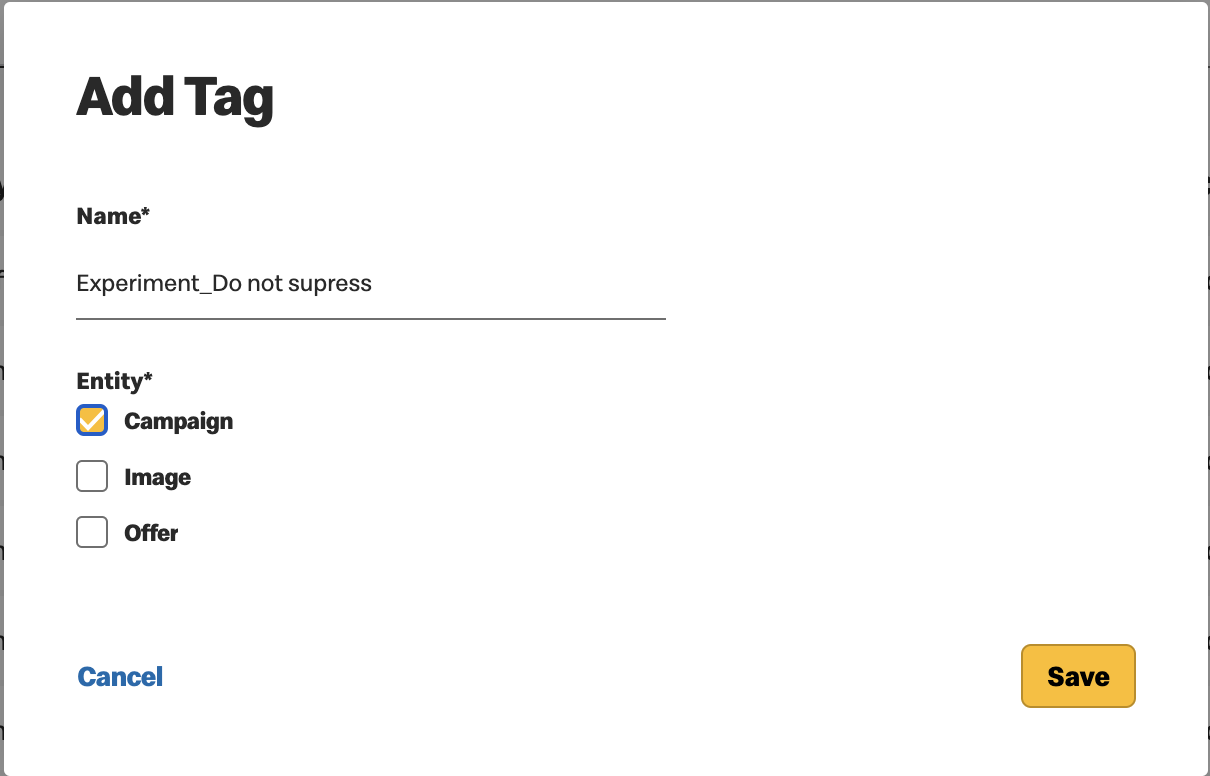
Steps to Add the Campaign Tag:
- Navigate to Settings > Tags in VCE.
- Click the Add icon in the top-right corner
- Enter the exact global campaign tag: "Experiment_Do not supress".
- Select Entity: Campaign.
- Click Save.
- Add the campaign tag to any offers you want to prevent from being suppressed.
Previous Topic Next Topic